Photos and full-screen graphics
For several months now, there has been a growing interest in full-size photographs placed on websites in the form of backgrounds for headlines or entire sections. The right selection of photographs combined with this form of presentation allows to easily create the right atmosphere and looks very good on large screens.
The use of images spread across the entire width of the browser also allows for quick design and implementation of landing page pages, where a small amount of text does not allow the creation of complicated layouts encouraging users to take specific actions.
How to shorten the loading time of a page with large photos?
Large photographs, however, have this to do with each other, that in addition to their considerable size on the screen also occupy enough space on the disk. While in the era of cloud hosting offering large disk space and unlimited transfer (such as dhosting, which I use and sincerely recommend) storing photos should not be a problem, the speed of loading the site can affect the readability and overall usefulness of the site.
We are comfortable. We have faster and faster devices and clearer screens at our disposal. We want to admire sharp, inspiring and colorful photos – but we don’t want to wait a few seconds to load all the data. We want to consume the content immediately after clicking on the link.
So can we feed the wolf without killing the sheep?
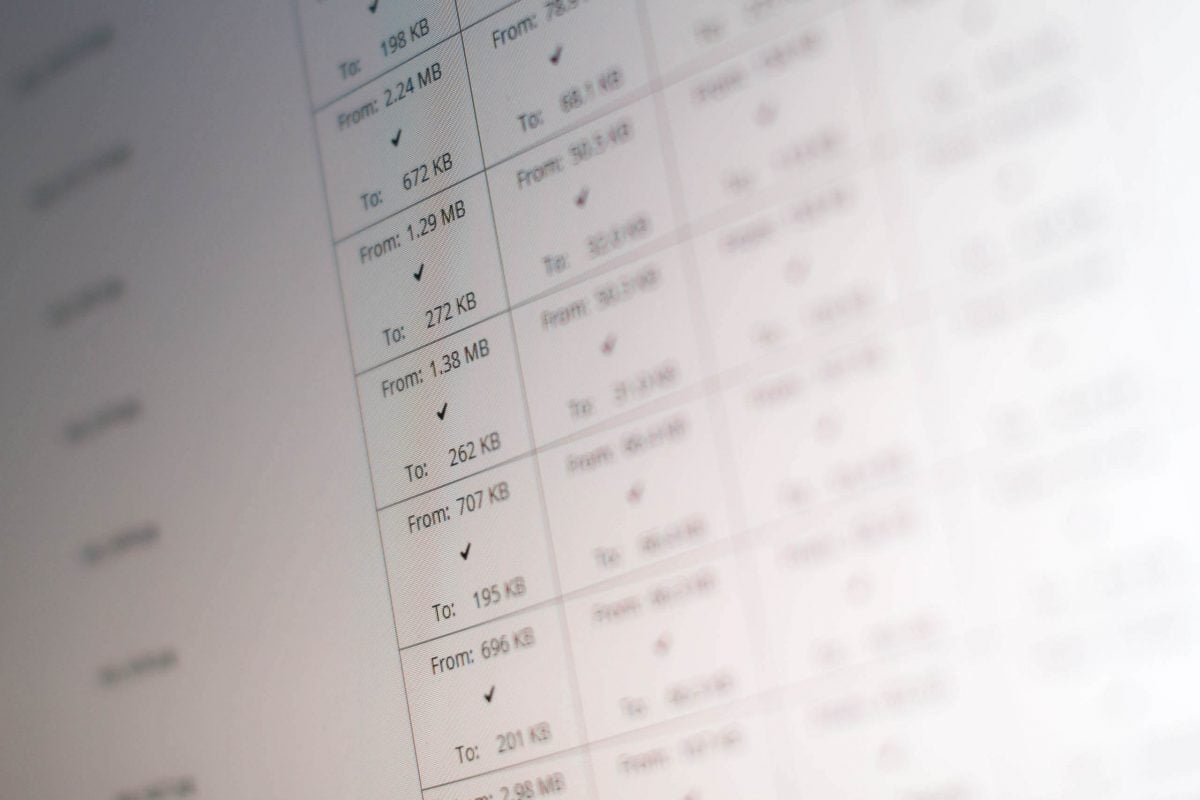
Optimizing your blog’s photos saves you a lot of server space. Optimized photos on the website will also be appreciated by mobile device owners. Please note that not everyone has a data packet for downloading gigabytes and is always close to the fast LTE network.
Image optimization and compression tools
First of all, we can take things into our own hands and not feed the wolf with grazed sheep, but serve him only as much as he needs.
1. reduce the size of the image
It’s true that 8k TVs are already on sale, but please be honest – how many people will watch your cat’s photo at a resolution of several million pixels? Instead of placing photos straight from your camera or smartphone on your blog, it’s definitely better to reduce them first. In most cases, the resolution of 1920 x 1080 pixels will satisfy even the most demanding fur lovers.
By the way, it is worth noting that for printing high quality photographs in A4 size it is enough to have a picture with a resolution not exceeding 9 million pixels. Therefore, it is worth considering whether storing photos in a very high resolution makes any sense.
2. use stronger JPEG compression
You can save a photo in a lower quality if you do not publish photos on your website that are intended primarily to win the Pultizer. Seriously, reducing the image quality from 90% to 60% when saved in JPEG format can reduce the size by up to half. It is definitely better to see the gallery of slightly more compressed photographs than not to see them at all. Don’t forget that many people will give up waiting for the page to load if they have to wait more than 3-5 seconds.
3. Divide the gallery into pages or use AJAX-based solutions
If you publish more than a dozen photos on one page, consider dividing them into several subpages. Alternatively, you can use the gallery module or slider (based on AJAX technology) and the lazy load script, which will allow you to recharge more photos without having to reload the entire page. This way, you won’t have to wait a long time for your visitors to upload all the graphics – they will be downloaded by your browser only when they’re needed.
4. Select only the best photos
It is worth showing a wide range of products or boasting interesting places visited during the last holidays. But be a bit honest and admit that these 500 photos are a lot exaggerated. Maybe instead of 30 images per product taken from every possible perspective, two images highlighting the quality of the product will suffice?
5. optimize your photos published on the website
The optimization of photography within the framework of the website may prove problematic. You may need to upload all the photos to your hard drive, optimize them using the appropriate software, and replace them with new ones on your server. It doesn’t have to be a problem, however, if you run a blog or a company website based on WordPress CMS. There are several plug-ins which, thanks to cooperation with external services, allow for wholesale optimization of photographs and other graphics published on the website.
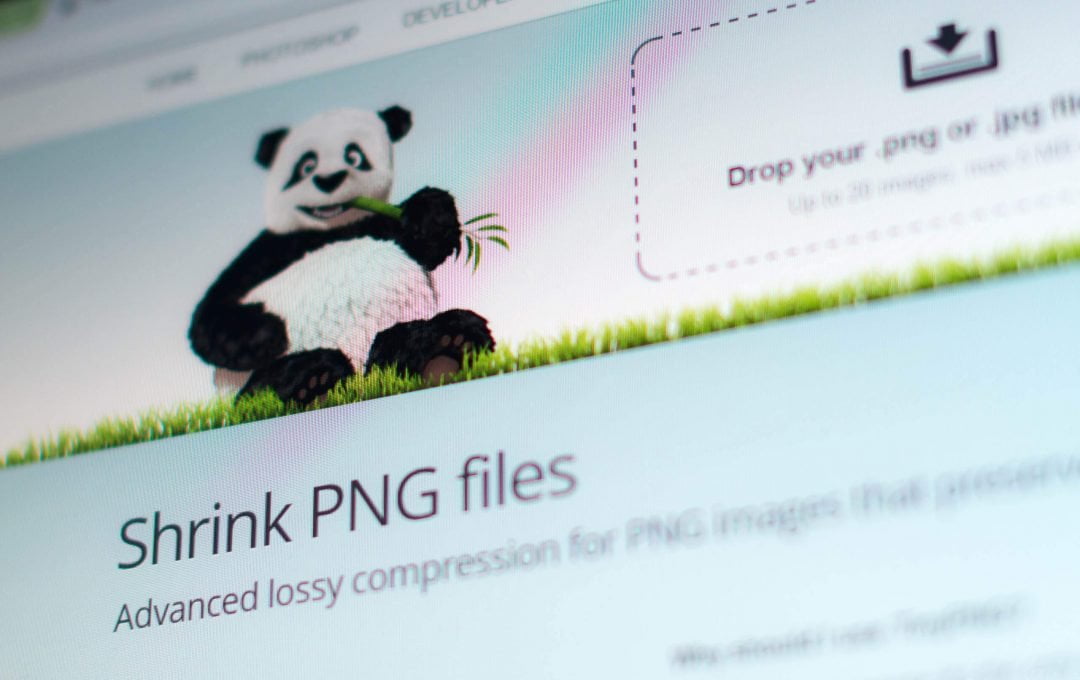
Noteworthy is the plugin WP Smush-It and the recently published plugin WP Image Shrinker. The former is optimised through Yahoo under the same name, while the latter is supported by TinyPNG (and TinyJPG twin sites). Both plug-ins work with different compression thresholds for different areas of the compressed image and additional techniques to reduce the size of the file without compromising image quality.
The authors of TinyJPG argue that their technology can reduce the size of graphics files by up to 70% while maintaining their original quality. They even offer a comparison in the form of an interactive slider so we can see for ourselves whether such optimization will not cause a decrease in the quality of the published photos.
TinyJPG users also have their own plugin at their disposal – Compress JPEG & PNG images. Its operation is identical with WP Image Shrinker, but these solutions differ in interface. Therefore, it is worth trying both solutions and choosing the most convenient one for yourself.

Panda advises: Automatic optimization of JPG and PNG files is a good way to reduce page loading time and even improve SEO results.
Is it worth optimizing your photos on websites?
Reducing and optimizing the size of graphics files published on the Internet does not require a huge amount of work or expertise. However, given that the text placed on a website often takes a fraction of the size of one big picture, it is worth making sure that the photos we upload are prepared for publication on the Internet. This will reduce the overall time it takes to upload and view the page and thus access both text and photos.
This experience will also be useful for uploading photos to social media profiles and emails. Although every respectable social network and content management system has a functionality responsible for automatic image reduction, these systems usually work on the server side. This means that in order to reduce the size of the image, the original must first be uploaded to a server, which in turn takes our time.
It is worth to use the available tools and develop the habit of reducing the size of graphics before they are published on the Internet. This will be appreciated by users of both mobile devices and large, stationary screens. Preparation of appropriate graphics is a tribute to the recipients, who will appreciate the care for better accessibility of the content. Uploading large image files does not make sense if their size in the memory does not translate into a significant increase in image quality.
What else can I do to make my website load faster?
A good way to do this is to cache your website. If you are using WordPress CMS, see another entry where I am writing about it.
